Spring MVC: Session
Session management is one of the essential parts for each web application. Since Spring MVC is a powerful framework for web development, it has its own tools and API for the interaction with sessions. Today I intend to show you the basic ways of session processing within Spring MVC application. That is: how to process forms, add objects into a session, and display objects from the session on JSP. I will try my best, so let’s start.
This Spring MVC Session tutorial will be based on one of the previous posts on my blog, related to the form handling. I’m going to extend the application by adding some session logic to the existing student-form, and create a new page with a form and a single text field on it. The text from the field will be processed by a controller and added to the session.
In order to check the session functionality I will display the session objects on the pages using JSTL. You can download the source in the end of the tutorial.
Form with a single text field
Firstly I need to create a view and a controller. I will start from the view creation and after that I’ll demonstrate the corresponding controller with the session logic.
...
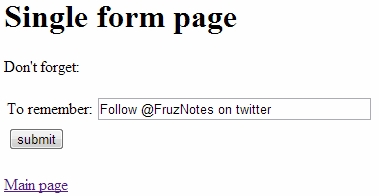
<h2>Adding of a String into the session</h2>
<form action="remember.html" method="post">
<table>
<tr>
<td>To remember:</td>
<td><input type="text" name="thoughtParam" /></td>
</tr>
<tr>
<td><input type="submit" /></td>
<td></td>
</tr>
</table>
</form>
<a href="${pageContext.request.contextPath}/">Main page</a>
...
Now I need to develop the controller to handle the form. There will be two methods for the requests handling: the first one is responsible for navigation to the page, the second one is related to the session activity.
@Controller
@SessionAttributes("thought")
public class SingleFieldController {

	@RequestMapping(value="/single-field")
	public ModelAndView singleFieldPage() {
		return new ModelAndView("single-field-page");
	}

	@RequestMapping(value="/remember")
	public ModelAndView rememberThought(@RequestParam String thoughtParam) {
		ModelAndView modelAndView = new ModelAndView();
		modelAndView.addObject("thought", thoughtParam);
		modelAndView.setViewName("single-field-page");
		return modelAndView;
	}

}
This is a simple Spring MVC controller with the one extra @SessionAttributes annotation. It indicates that in the controller’s methods some values can be assigned to the arguments of the annotation. In this example I have declared just one session attribute with the name “thought“. That means I can put some object into modelAndView using the addObject() method, and it will be added to the session if the name of the object will be the same as the name of the argument in @SessionAttributes.
The last thing I should to do is to add a link to the new page on the index.jsp:
...
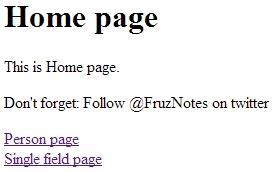
<h1>Home page</h1>
<p>This is Home page.</p>
<p>Don't forget: ${thought}</p>
<p>
<a href="person-form.html">Person page</a> <br />
<a href="single-field.html">Single field page</a>
</p>
...
In order, to check whether that session works properly, you need to add the following code to the existing views (single-field-page.jsp, …):
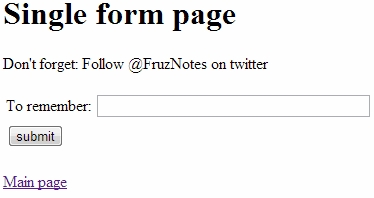
<p>Don't forget: ${thought}</p>
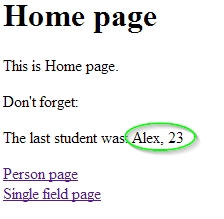
On the screenshots below you can see the result of the code execution:
And the results:
And
Adding a custom object into the session
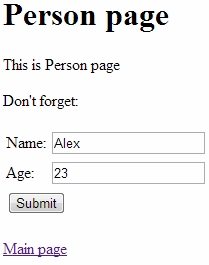
In this section I’m going to show you how to add a custom object into the session, and how to display еру object’s properties on JSP. The role of the custom object will play the Person object. Firstly I’ll modify the existing person controller:
@Controller
@SessionAttributes("personObj")
public class PersonController {

	@RequestMapping(value="/person-form")
	public ModelAndView personPage() {
		return new ModelAndView("person-page", "person-entity", new Person());
	}

	@RequestMapping(value="/process-person")
	public ModelAndView processPerson(@ModelAttribute Person person) {
		ModelAndView modelAndView = new ModelAndView();
		modelAndView.setViewName("person-result-page");

		modelAndView.addObject("pers", person);
		modelAndView.addObject("personObj", person);

		return modelAndView;
	}

}
Comparing with the latest version I have added two new strings:
...
@SessionAttributes("personObj")
...
modelAndView.addObject("personObj", person);
...
The result of the code execution is following:
And
This is the end of the Spring MVC session tutorial. And as I promised earlier, I give a link to the sources of the project. Everything I have mentioned in the post constitutes just a small part of the things, you should know about the sessions, later I’ll write a post about their different important features.