Scala setup on Mac OS
![]()
Not so long time ago I decide to improve my programming skills with a new programming language. As you can see looking on the topic, the new language is Scala. I don’t want to write a lot of paragraphs about Scala advantages which were crucial in my decision. Learning of any programming language starts from setting up of environment.
In this post I’m going to make an overview of Scala installation on Mac OS. Further I will write the same post but applied for Windows. Enough words, let’s continue with practical steps.
1. Download scala-X.XX.tgz from the official site. When this article was written the version of Scala was 2.10.2
2. Unzip the archive and rename a folder in “scala”.
When you browse the scala directory you can find there folders: bin, doc, examples, … etc.
3. Move the scala folder to /Users/user_name
In my case it looks like:

4. Now it’s time to change .profile file. If you don’t have the .profile file you can fix this by creating it.
So you need to add the following line in the .profile:
export PATH=”/Users/your_user/scala/bin:$PATH”
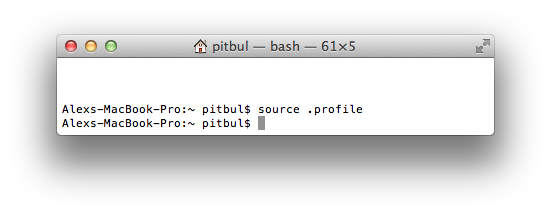
5. To activate this changes you need to reopen Terminal and execute there the following command:
source .profile
That’s all you need to do in order to setup Scala on your Mac. Now let’s develop a first Scala Hello World application. Open Terminal and type there:
scala
After that type:
println(“Hello World”)
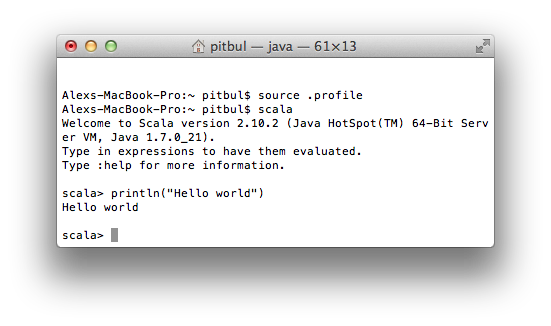
That’s it.